


Having an aquarium gives you the opportunity to bring the soothing benefits of nature into your home. When an aquarium is adorned with rocks and plants and you get to watch fish swim inside it, it becomes a great way of relieving stress and tension. The hues of the fish and the surroundings within the tank are quite soothing. Studies have shown that owning an aquarium helps lower blood pressure and emotional aggravation. So why not start building the perfect aquarium by following our tips below?
1. Choosing Your Fish
Freshwater fish that are aggressive, such as devils and oscars, should be avoided completely. Arowanas, Angelfish, clownfish (think of Nemo), and puffers are wonderful options for a saltwater aquarium. Puffers are a wonderful aquarium fish to have since they recognize their owners and have a cheerful personality. Puffers’ bodies balloon to three times their original size and they become especially lively during feeding time. However, they demand 100-gallon tanks and meat-rich meals like beef-heart, which require special upkeep.
2. Choose the Capacity of Your Tank
What size aquarium you’d like to have in terms of water capacity is one element to consider when deciding on a theme for your tank. We suggest obtaining the largest tank you can afford because large tanks are easier to maintain than smaller ones. When something goes wrong in a small tank, it happens rapidly, and your fish or corals may perish.
3. Suitable Water Set-up
An aquarium normally requires around six weeks to reach equilibrium. You should replace water weekly for the first six weeks or so. Most fish farmers advocate frequent water changes every two weeks from 10 to 20% of the tank water. Since the ammonia levels over the following three to four weeks reach high levels, these water changes are suggested to be made weekly to minimize the ammonia levels and prevent the fish’s death.
4. Oxygenating the Water
Changing the tank’s water reduces nitrates and ammonia and assists in oxygenating the water during the first set-up. Your air bubble system and filters aerate the water in the tank, which allows the water to be filled with oxygen. The same movement releases carbon dioxide as well. Over time, the water’s ability to maintain and release oxygen reduces. Adding new water to your tank over two weeks helps improve your oxygen content, making it so much easier for your fish to breathe.
5. Adding LED to Your Aquarium
LED illumination devices normally cost less than a typical fluorescence illumination device, hence, people now notice that getting an LED light is a lot more economical. They consume a lot less electricity which translates into savings on the electric bills. Another advantage is that the “bulbs”, like other aquarium lighting systems, endure considerably longer. Usually, 30,000 to 50,000 hours may be reckoned from the LED devices. LED lighting systems are also simple to alter. Some LED aquarium lights are extendable and interchangeable, allowing you to add lights, change colors, and occasionally even include a basic remote control. Newer variants can also be managed via smartphone apps.
6. Picking the Location
Determine the best place to use the aquarium before any work is done with the tank itself. It should be placed far from windows, outside doors, heating ventilation, and air conditioning. Fast temperature swings are particularly stressful to fish, and intense sunshine will rapidly make your tank full of vivid turquoise green algae.
7. Choosing a Theme
There are two methods to pick your tank theme. Your first option is to concentrate on your favorite fish species and construct your tank to show its looks and its most intriguing inhabitants. Alternatively, a natural environment like the Hawaiian reef or the Amazonian river can be recreated. You may even choose to concentrate on tank-scraping and turn the fish or water critters into a secondary view while focusing on your plants and hard land. You will need to understand their natural behavior and choices if you create a tank to address the demands of a certain species.
8. Cleaning Gravel
Cleaning new aquarium gravel thoroughly is a vital first step in maintaining excellent water quality; gravel dust and residue can hurt or even kill fish. Even though manufacturers may promote new aquarium gravel as pre-cleaned, bags of new aquarium gravel frequently contain dust, dirt, grit, or harmful residue from the facility in which it was packaged. Pouring one bag of aquarium gravel at a time into a bucket outside your house or workplace is the simplest way to clean aquarium gravel. Cleaning should be done outside since the gravel dust will not hurt lawns or plants, but it may permanently block the drainage in sink drains, requiring a plumber to clear it. Spray an intense stream of water into the gravel at the bottom of the bucket using a high-pressure hose. The water will get hazy as the residue from the gravel gets rinsed away.
9. Adding Sea Salt
It’s crucial to choose the correct substrate for your tank before installation because it’s tough to remove after the tank is up and running. Also, do your homework ahead of time and figure out which sea salt is ideal for your aquarium. Shut down the system and drain a few liters of water from the tank and sump after checking for leaks. Toss in the sea salts. Turn on the sump return pump after putting the sea salt into the sump. This will assist the sea salts to dissolve more rapidly by circulating water over them. Turn on any powerheads in the tank as well as your filter if you don’t have a sump. Continue to add more sea salts as they dissolve and keep testing the salinity until the required level is obtained.
10. More Necessities
You never know when you’ll need a net to catch fish, therefore every aquarium keeper should have one. The diameter of the net should be wider and bigger than your biggest fish. Furthermore, difficult-to-catch fish such as fast-swimming slender danios should be captured using two nets, one behind and one in front of the fish. For water changes, you’ll also need an algae pad or an algae magnet to wipe green algae growth off the front glass regularly as well as a siphon tube to drain water.
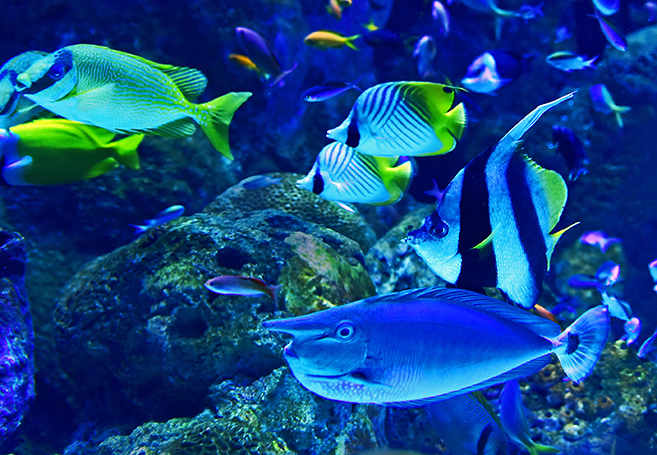
Photo by David Clode on Unsplash
.
.


