


There’s nothing more exciting than digging through a box of family photo albums. Once in a while, you might even chance upon a really good photo of your parents, grandparents, or even great grandparents – one that would look great framed and displayed somewhere in your home! But what if their colors have begun to fade away? Or the photos have collected tears, scratches, and wrinkles over the years? Thankfully, with the help of some Photoshop, you can touch those family heirlooms up and have them looking like new again. Here, we list 7 practical tips for anyone looking to learn how to restore old photos on their own. However, if you want to skip the learning process and hire a professional to edit your photos for you, get in touch with Image Restoration Center.
1. Get The Scanning Right
Working with a low-quality photo will only make your job harder. From the get-go, make sure you have high-quality scans or photos of your images. Trust us, you’ll want to get this part right. Otherwise, you’ll be spending a lot more time tweaking stuff on Photoshop.
If you’re using a scanner, you need to make sure it is set to at least 300 dpi, but 600dpi (if possible) is much better. But if you don’t have a scanner, you can simply take a photo with a high-resolution camera, like a DSLR.
2. Always Keep An Unedited Layer
Once you open the image on Photoshop, the first thing you should do is create a second copy to work on. This preserves the original copy, which you can later use as a reference or to monitor your progress. Don’t save over the original copy just in case you want to go a completely different direction!
To copy the image onto an editable duplicate layer in Photoshop, follow these steps:
- Go to the Layers panel and select a layer.
- Click on the Layers panel menu and select “Duplicate Layer”.
- Name your layer, then click OK.
- When you’re done, make sure to click the eye icon on your original layer to hide it from the panel.
3. Survey The Damage Before You Start
Don’t just jump into editing willy-nilly – take a good look at your photo and note down all the edits you have to make. Depending on the damage, you may have to fix tears and holes, remove blemishes, or color correct the photo.
4. Crop Those Edges
Most of the time, old photos will have ragged and frayed edges. If you won’t lose any essential details by doing so, crop the image – this will get rid of these signs of aging and reduce the amount of editing you have to do later on. Also, make sure your photo is centered and straightened.
5. Experiment With Color Correction
More often than not, the biggest concern people have with old photos is the loss of tone, color, and vibrancy. While you can certainly slap on a premade filter and call it a day, Photoshop will allow you to really tweak your photos to perfection.
Most of what you need to color correct a photo can be found in the Image menu. If you want to get your edits done fast, you can select Adjustments and try the following automatic corrections: Auto Tone, Auto Contrast, and Auto Color.
If they don’t give you what you’re looking for, you can manually adjust the Exposure, Brightness, Contrast, Hue/Saturation, and Vibrance yourself. You can also choose the Color Balance option to toggle with the color levels, along with tone balance and luminosity.
Just play around with the levels, and you’ll eventually understand what each one can add or remove from your photo. Don’t worry, you’ll find the sweet spot soon enough!
6. Use The Patch Tool To Fill Up Damaged Spots
It’s best to tackle general problems like brightness, contrast, color, and image size before working on specific areas. This helps you avoid having to go back to certain details when you adjust the whole image.
Once you’re done with the color corrections, you can move on to specific sections. Start with any large areas that have been damaged by tearing, wrinkling, water damage, or stains. In some cases, you can easily crop these out without losing detail. But in cases where the background is the issue, you can use the Patch tool.
With the Patch tool, you can “reconstruct” the area by tracing an outline around the problem spot, then dragging the selection onto your sample area. When you do this, Photoshop will replace the outlined area with whatever image you dragged it onto.
7. The Spot Healing And Clone Stamp Tools Are Your Friends
For finer blemishes, you can zoom into the spot and use either the Spot Healing or Clone Stamp tools.
The Spot Healing brush tool works best for covering up small blemishes. Choose your desired size, hardness, and spacing, then select your desired type. There are three options: Proximity Match, Content-Aware, and Create Texture. Proximity Match and Content-Aware are pretty similar in that they try to replicate the details around the spot you want to fix, while Create Texture simply adds a bit of texture to the spot.
If you want something more similar to the Patch tool, you can use the Clone Stamp tool. This stamps a copy of a selected area onto another and is really good for fixing areas with specific patterns or textures.
Once you’re done, take a good look at your photo to make sure you didn’t miss any important, necessary corrections. And don’t forget to hit Save!
Conclusion
Time will wear down most film photos. But with a little bit of Photoshop magic, you can revive those old family photos and have them looking as good as new once again!
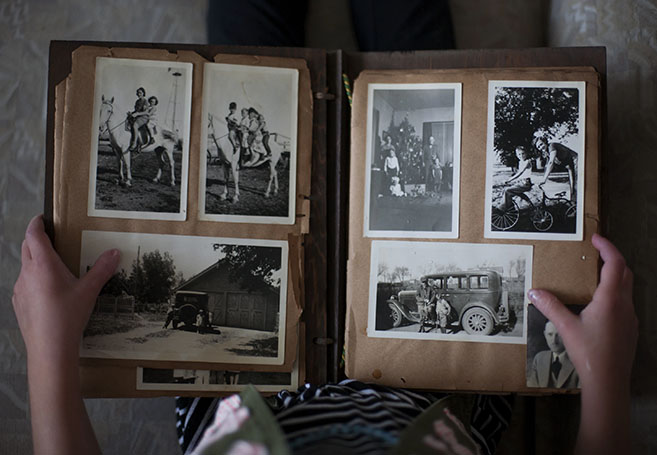
Photo by Laura Fuhrman on Unsplash
.
.


